Configure AWS SSO with Access for SaaS
In this tutorial we will configure AWS SSO with Access for SaaS. Cloudflare Access for SaaS allows you to layer additional network and device posture policies on top of existing identity authentication from your identity provider. In this example, we are using Okta as an identity provider, but any supported identity provider can be leveraged.
Time to complete:
20 minutes
Configure AWS
In the AWS admin panel, search for
SSO.Add AWS Single Sign on to your AWS account.
Click Choose an identity source.
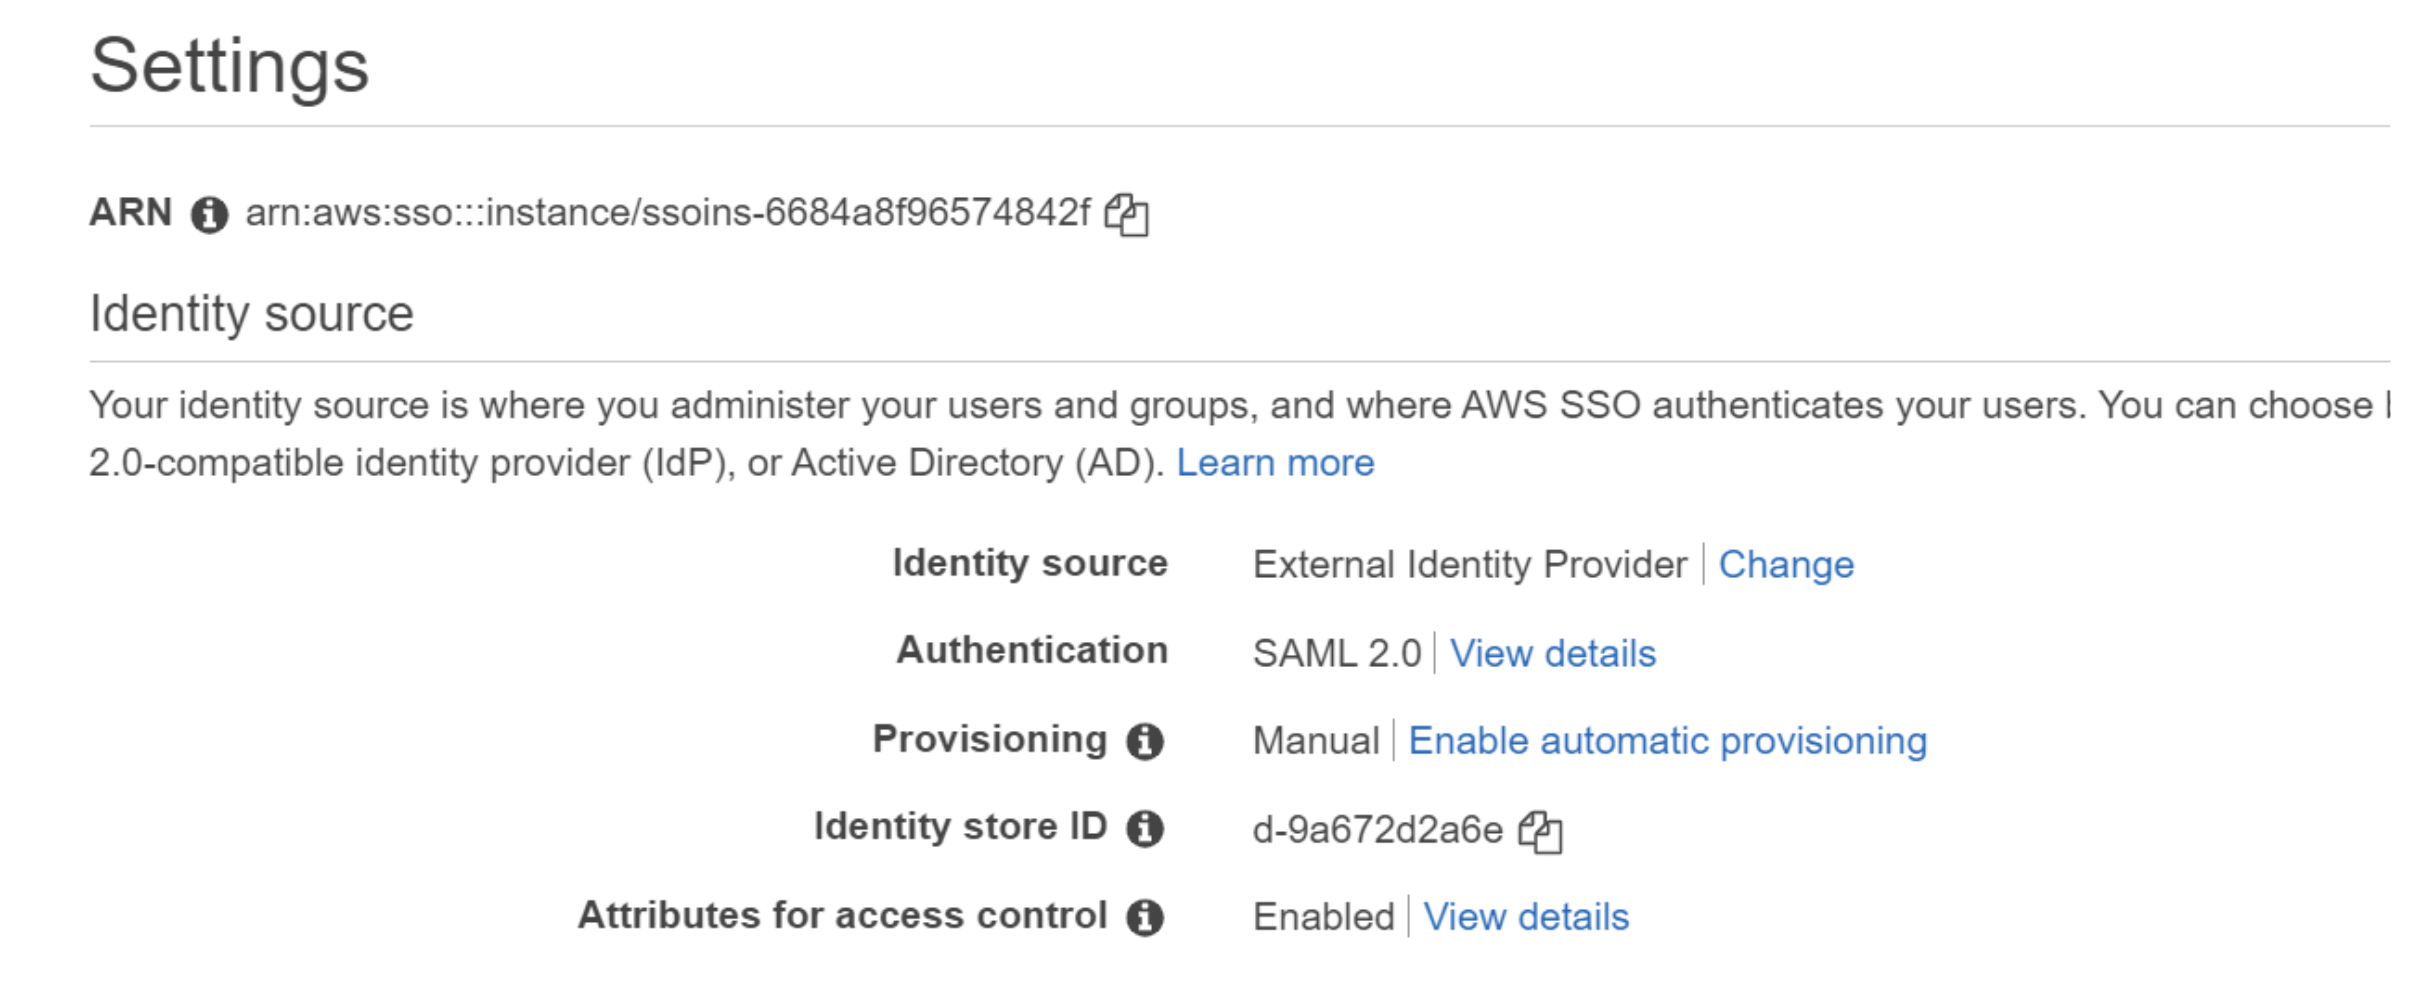
Change the identity source to External Identity provider.
Click Show individual metadata values. These will be the fields that are added to the Cloudflare Access for SaaS app.
Copy the AWS SSO ACS URL.
Configure Cloudflare
In a separate tab or window, open Zero Trust and navigate to Access > Applications.
Select SaaS as the application type to begin creating a SaaS application.
Copy the following fields from your AWS account and input them in the Zero Trust application configuration:
AWS value Cloudflare value AWS SSO ACS URL Assertion Consumer Service URL AWS SSO Issuer URL Entity ID The Name ID Format must be set to: Email.
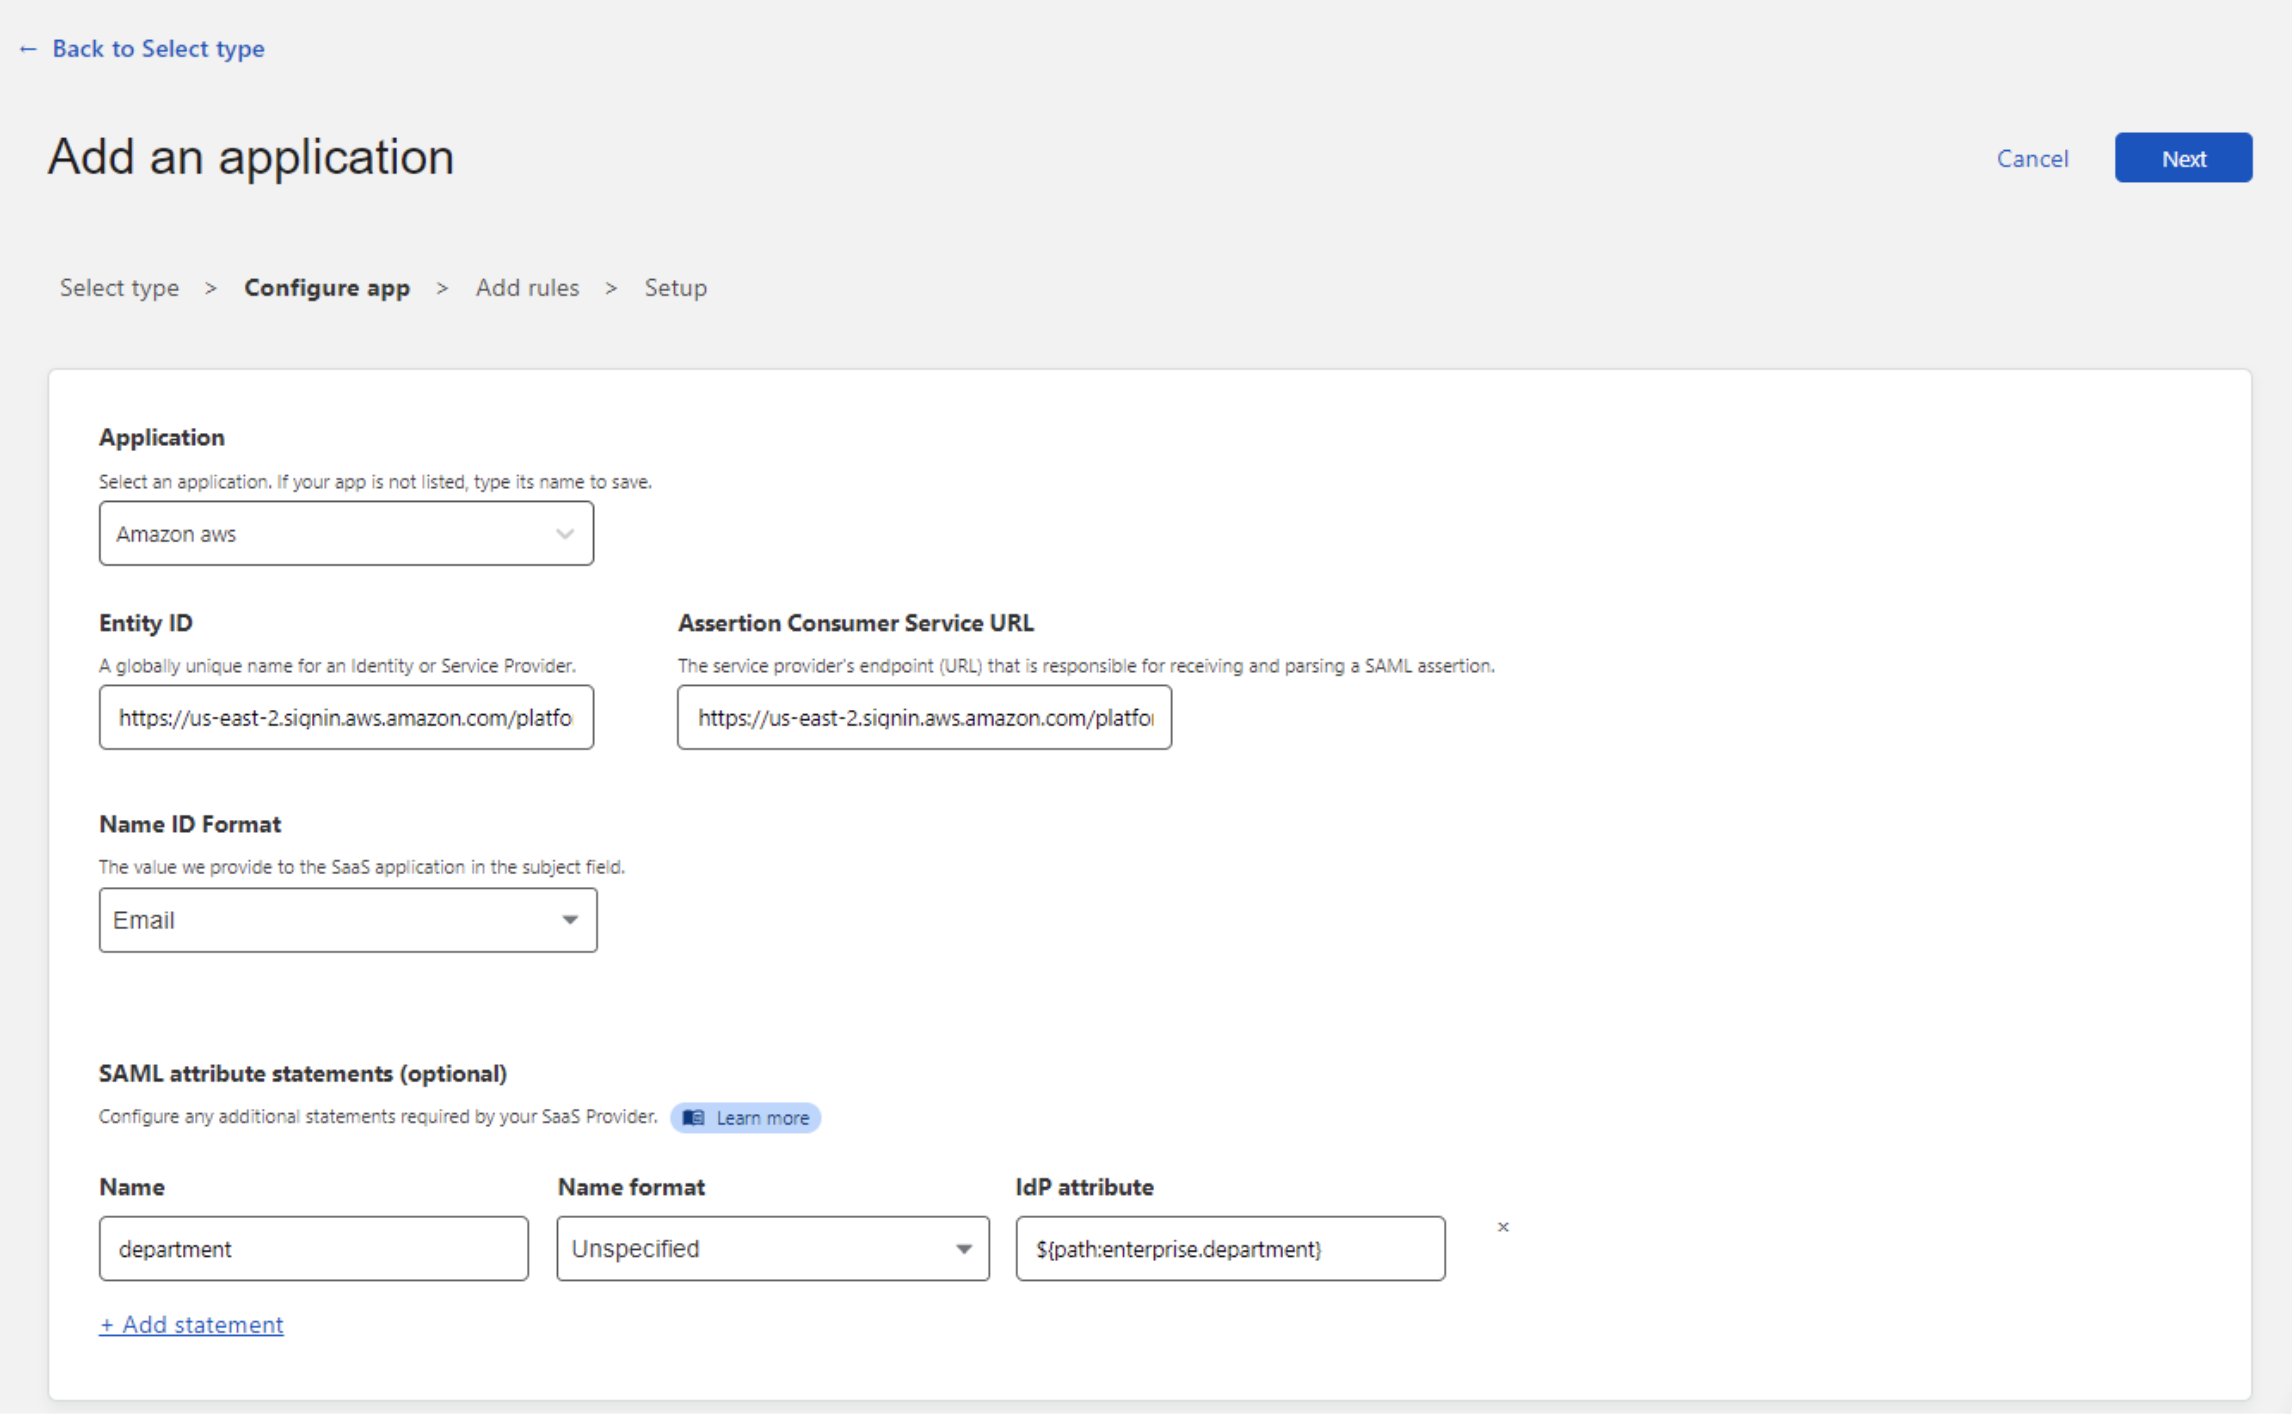
(Optional) Additional Attribute Statements can be passed from your IdP to AWS SSO. More information about AWS Attribute mapping can be found at Attribute mappings - AWS Single Sign-On.
Copy the Cloudflare IdP metadata values and save them for the Final AWS configuration.
Click Next.
Now create an Access policy to determine who has access to your application.
Save your policy and return to the AWS SSO dashboard.
Complete the AWS configuration
Paste the Cloudflare IdP metadata into your AWS account with these mappings:
Cloudflare value AWS value SSO Endpoint IdP Sign-in URL Access Entity ID IdP Issuer URL Public Key IdP Certificate Click Next: Review.
Set Provisioning to Manual.
Test your connection
User should now be able to successfully log in. To test your connection, open the user portal URL.